Creating a custom Roblox face allows players to personalize their avatar uniquely standing out in the vast metaverse. This comprehensive guide details the precise steps required to design and upload your very own face texture covering everything from initial concept to in-game application. Learn about image editing software recommendations optimal file formats and crucial Roblox Developer Hub guidelines for asset submission. Understand the nuances of transparency resolution and compliance to ensure your custom face is approved and displayed correctly. We delve into common pitfalls and troubleshooting tips to streamline the creation process making it accessible for both new and experienced Roblox creators. Discover how to leverage free tools and community resources to enhance your design skills and bring your creative visions to life. This trending topic empowers users with genuine self-expression on the platform fostering a more vibrant and diverse virtual community. Mastering face creation opens doors to unique avatar aesthetics.
In 2026, the PC gaming landscape is more vibrant and personalized than ever, with millions of players seeking unique ways to express themselves across digital worlds. Roblox, in particular, continues to dominate as a platform for creativity and self-expression, empowering users to not just play games but also build and customize their entire experience. A key aspect of this personalization is the ability to craft unique avatar features, and understanding how to make your own Roblox face is a highly sought-after skill. This extensive FAQ guide delves deep into the nuances of creating custom Roblox faces, offering expert insights and step-by-step instructions. We will address critical questions ranging from design tools and upload processes to monetization opportunities and troubleshooting common issues. By the end, you'll possess the knowledge to truly distinguish your avatar in the bustling Roblox metaverse.
What software do I need to make a Roblox face?
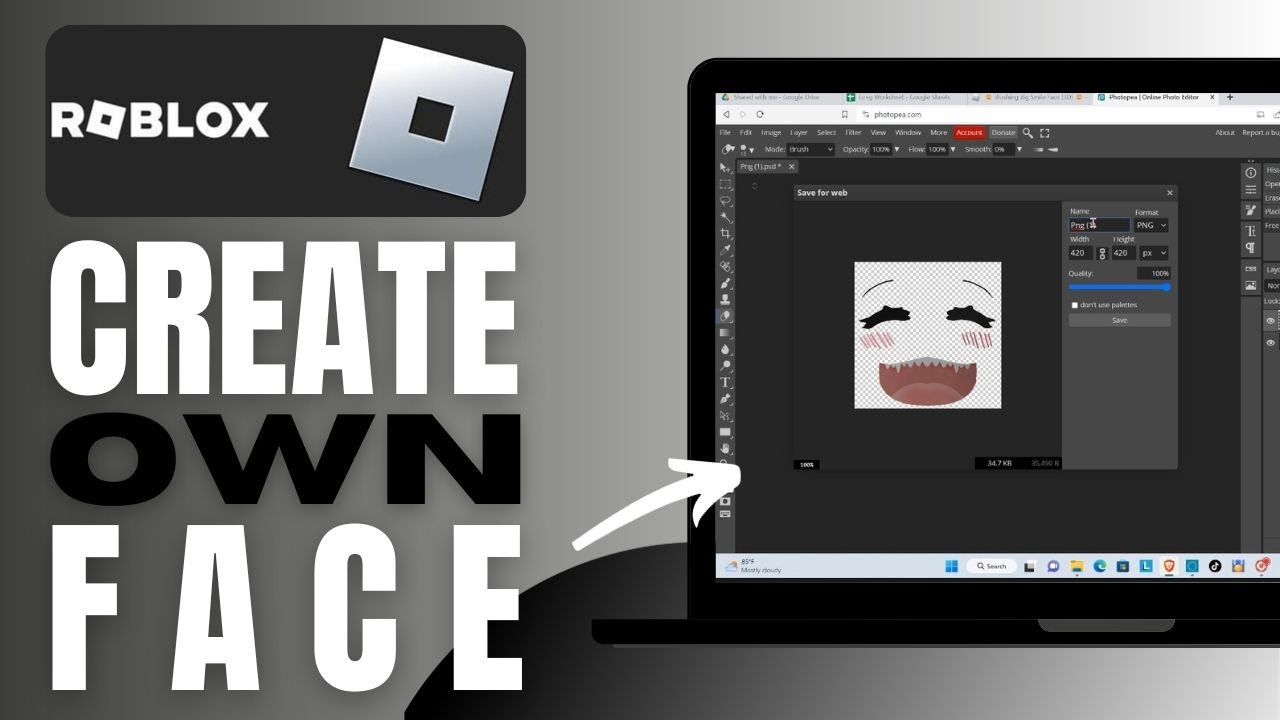
To make a Roblox face, you primarily need image editing software capable of handling transparency. Free options like GIMP or Paint.NET are excellent starting points. Professional software such as Adobe Photoshop also works perfectly. These tools allow you to design the texture and save it in the required PNG format for optimal quality.
In-depth: GIMP is a robust, open-source editor offering a wide array of features for graphic design, perfectly suited for detailed face textures. Paint.NET is simpler but effective for basic designs. Photoshop offers advanced layering and brush options for complex artistic expressions. Whichever you choose, ensure you are comfortable with layers and transparent backgrounds.
What are the image requirements for a custom Roblox face?
Roblox requires custom face textures to be a square image, with the optimal resolution being 420x420 pixels. The file format must be PNG to support transparency, which is essential for areas like eyes, mouth, and any parts of the face where the avatar's default skin should show through. Adhering to these specifications ensures proper mapping and display.
In-depth: Using the exact 420x420 resolution prevents stretching or blurring, maintaining visual fidelity. PNG is crucial because other formats like JPG do not support the alpha channel needed for transparency, resulting in unwanted white or black backgrounds around your face design. Always double-check dimensions before upload to avoid rejection.
How do I upload my designed face to Roblox?
After saving your custom face as a 420x420 PNG, navigate to the "Create" section on the Roblox website. Select "Decals" from the left menu. Click "Choose File," select your PNG image, give it a clear name, and then click "Upload." There will be a small Robux fee for uploading assets, typically 10 Robux. This creates a decal asset.
In-depth: The "Decals" section is the gateway for any image asset upload. Once uploaded, click on the new decal to view its specific URL. Within this URL, you'll find the unique Asset ID (a string of numbers). This ID is vital for applying the face in Roblox Studio or associating it with a custom accessory. Ensure the name clearly describes your face for easy identification later.
Can I use copyrighted images for my Roblox face?
No, you cannot use copyrighted images for your Roblox face. Roblox has strict moderation policies against intellectual property infringement. Using copyrighted material can lead to your asset being rejected, your account receiving warnings, or even suspension. All designs must be original or created from royalty-free resources.
In-depth: Roblox actively scans uploaded assets for copyright violations. Creating original content not only avoids penalties but also contributes to your unique artistic identity on the platform. If you're inspired by existing media, ensure your design is a transformative work that doesn't directly copy protected elements.
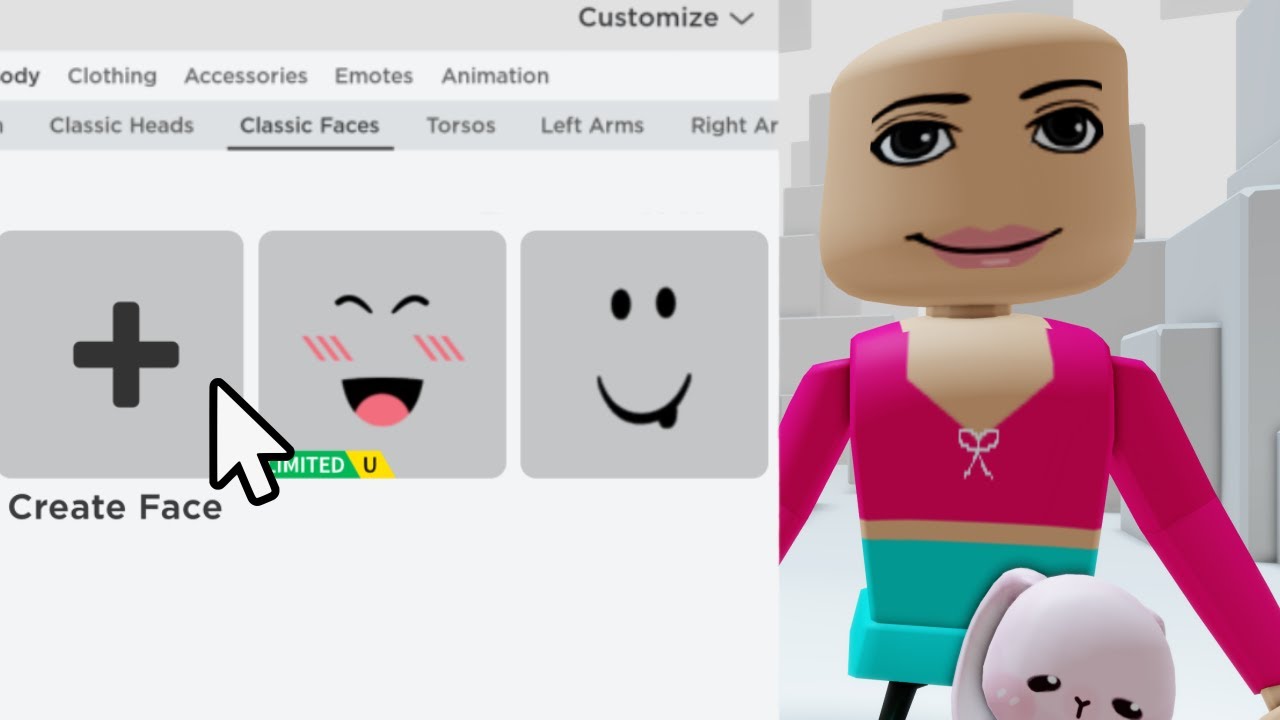
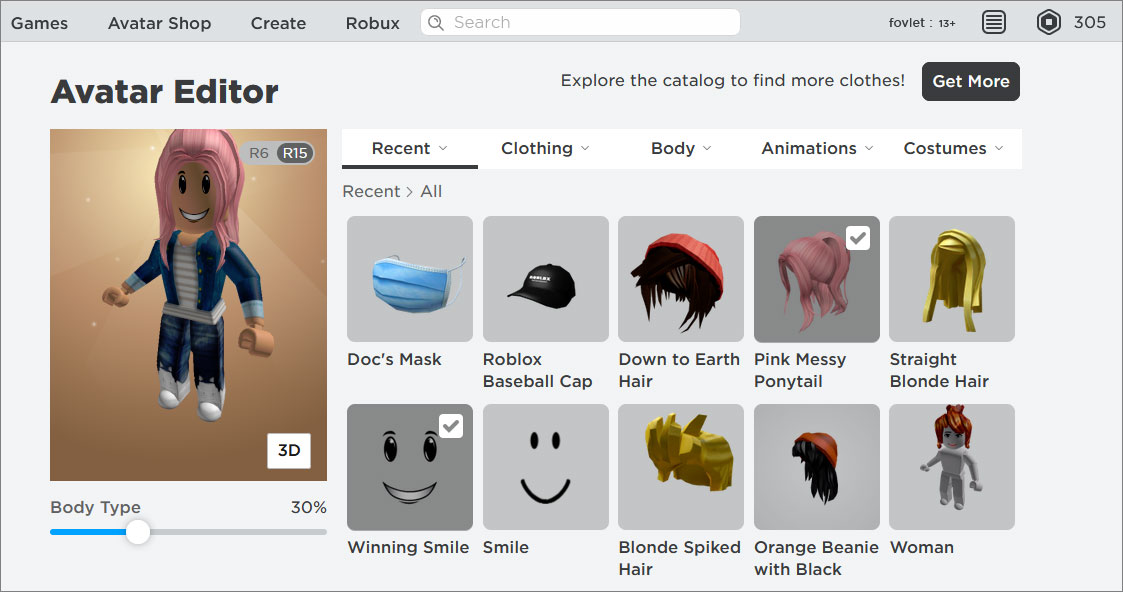
How can I make my custom face appear on my avatar?
To display your custom face on your avatar, you need to apply the uploaded decal's Asset ID to a character in Roblox Studio. You can place the decal onto the "Face" part of a StarterCharacter or a custom model. Directly applying a decal as a personal avatar face outside of Studio requires the face to be an approved, sellable item on the marketplace, which is a different process.
In-depth: For direct avatar application that can be worn by anyone, the decal needs to be part of a full Face Accessory item. This involves creating a MeshPart for the face accessory in Roblox Studio, texturing it with your decal, and then submitting it through the Accessory Upload process. This route is for creators looking to sell or distribute their faces widely.
What if my Roblox face gets rejected by moderation?
If your Roblox face is rejected, carefully review Roblox's Community Standards and Asset Guidelines. Common reasons include inappropriate content, copyright infringement, or failure to meet technical requirements like incorrect dimensions or unsupported file types. Rectify the issue and re-upload the asset, paying the small Robux fee again.
In-depth: Roblox's moderation is automated and human-reviewed. Ensure no offensive symbols, words, or explicit imagery are present. Even subtle violations can trigger rejection. Check for accidental transparency issues that might reveal underlying prohibited content. Learn from the rejection and refine your design for compliance.
Is it possible to sell custom Roblox faces to other players?
Yes, it is possible to sell custom Roblox faces, but it's more complex than just uploading a decal. To sell a face, you typically need to create it as a "Face Accessory" item in Roblox Studio, which involves modeling it (even if it's just a flat plane) and then texturing it with your custom face decal. This accessory then goes through a separate submission and approval process to be listed on the Roblox marketplace, allowing other players to purchase it with Robux.
In-depth: Selling accessories requires a deeper understanding of Roblox Studio, including basic 3D modeling and accessory rigging. The approval process for marketplace items is also more stringent, ensuring quality and adherence to all policies. Many creators start by making faces for their own games or private use before venturing into the accessory marketplace.
What is the Roblox face template and where do I get it?
The Roblox face template is a blank 420x420 pixel image that serves as a guide for designing custom faces. It ensures proper alignment of features like eyes and mouth onto the avatar's head. You can typically download this essential template directly from the Roblox Developer Hub, which is the official resource for creators and developers on the platform. Using the template streamlines your design process and minimizes alignment errors.
In-depth: The template often includes subtle guides or outlines indicating where facial features should approximately sit. Overlaying your design on this template in your image editor (e.g., GIMP, Photoshop) allows you to meticulously position elements, preventing skewed or misplaced features when applied to a 3D avatar. Always start with this template to save time and effort in revisions.
Are there any restrictions on what I can design for a Roblox face?
Yes, Roblox has strict Community Standards and asset moderation policies that apply to face designs. Prohibited content includes offensive, discriminatory, or sexually explicit imagery, as well as copyrighted material and personal information. Designs must be appropriate for all ages on the platform. Adhering to these guidelines is crucial for successful asset approval and to avoid account penalties.
In-depth: Roblox aims to maintain a safe and inclusive environment. Therefore, any design that could be interpreted as hateful, threatening, or promoting illegal activities will be rejected. This also extends to trademarked logos or characters unless you hold the necessary rights. It's best to create original, family-friendly content to ensure compliance.
Can I animate my custom Roblox face?
While you can create static custom face textures, directly animating them as expressive facial movements within the traditional Roblox avatar system is more complex. True facial animation typically requires a combination of layered accessories, scripting within Roblox Studio using blend shapes, or leveraging newer avatar technologies like "Dynamic Heads." A single static face texture does not inherently support animation.
In-depth: Dynamic Heads are a newer feature in Roblox that allows for more advanced facial expressions and movements. To utilize these, creators need to understand mesh deformation and rigging. For simpler effects, some creators use multiple face textures that swap out via script to simulate basic expressions, but this is a workaround rather than true animation of a single face texture.
What is the difference between a decal and a face accessory?
A decal is simply an image uploaded to Roblox, which can then be applied to any surface in Roblox Studio. A face accessory, however, is a 3D mesh object textured with a decal (often your custom face design) that is rigged to fit an avatar's head and can be worn or sold on the marketplace. Decals are the raw image, while accessories are wearable avatar items.
In-depth: Think of a decal as a sticker. You can stick it anywhere. A face accessory is like a pair of glasses or a hat. It's a structured item that has specific properties and can interact with the avatar system. To sell a face to other players, it must be created as an accessory, not just a decal. This involves 3D modeling skills.
How long does it take for Roblox to moderate a custom face?
The moderation time for a custom Roblox face (uploaded as a decal) can vary significantly, ranging from a few minutes to several hours, or even up to 24 hours during peak times. More complex or potentially ambiguous designs might take longer for human review. Once approved, the decal becomes active almost immediately.
In-depth: Roblox employs both automated systems and human moderators to review all uploaded content. Factors influencing moderation speed include the current volume of submissions, the clarity of the design, and whether it flags any automated filters. It's always best to upload assets well in advance of when you plan to use them.
Are there free resources or tutorials for Roblox face design?
Yes, numerous free resources and tutorials exist for Roblox face design. The Roblox Developer Hub offers official guides and documentation. YouTube hosts countless video tutorials from experienced creators demonstrating techniques in GIMP or Photoshop. Online forums and Discord communities dedicated to Roblox development are also excellent places to find tips, assets, and support for your design journey.
In-depth: Searching for terms like "Roblox face tutorial GIMP" or "custom Roblox face template" will yield a wealth of information. Many content creators generously share templates, brush packs, and design insights. Engaging with the Roblox creator community can provide direct feedback and solutions to specific design challenges you might encounter.
Troubleshooting Common Roblox Face Issues
Experiencing issues during your face creation journey is normal. If your face appears stretched or pixelated, verify that your initial design was exactly 420x420 pixels and saved as a PNG. Transparency issues often stem from incorrect PNG export settings or using an unsupported file format. For moderation rejections, thoroughly review the Roblox Community Standards, focusing on any potentially ambiguous elements in your design. Sometimes, a fresh pair of eyes from a peer can help identify problems. Remember, consistency in dimensions and strict adherence to content policies are your best defense against common hurdles.
The Future of Roblox Face Customization in 2026
As 2026 unfolds, Roblox continues to innovate avatar customization. Expect to see enhanced support for more dynamic facial expressions, potentially integrating with real-time motion capture or advanced animation techniques within games. The platform is continuously refining its asset creation tools and marketplace, likely leading to more intuitive ways for creators to design, upload, and monetize unique facial features. Future updates might include improved template guides, AI-assisted design tools, and even more detailed texture mapping capabilities, pushing the boundaries of avatar personalization for the global player base.
Mastering how to make your own Roblox face is a rewarding endeavor that significantly enhances your personal presence on the platform. From selecting the right software and adhering to specific design dimensions to navigating the upload and moderation processes, this guide has equipped you with the comprehensive knowledge needed to create truly unique facial expressions for your avatar. The ability to craft custom assets is a testament to Roblox's powerful creative ecosystem. Now, go forth and express yourself! Share your most creative custom Roblox face designs in the comments below or check out our other guides on advanced avatar customization.
What is the best program to make a Roblox face?
The best program to make a Roblox face depends on your skill level and budget. Free options like GIMP or Paint.NET are highly recommended for beginners due to their user-friendliness and essential features. For advanced users seeking comprehensive tools and professional results, Adobe Photoshop remains the industry standard, offering unparalleled control over design elements.
Does it cost Robux to upload a custom face?
Yes, uploading a custom face to Roblox typically incurs a small Robux fee. This fee is for uploading the image as a Decal asset to the platform. While the cost is minimal, usually around 10 Robux, it's a necessary step in the process before you can apply or further develop your face design within Roblox Studio or for the marketplace.
Can I put my real face on Roblox?
While technically possible to create a texture resembling your real face, Roblox's moderation strictly prohibits the upload of personally identifiable information, including realistic depictions of real people without explicit consent and potentially other legal agreements. It's generally advised against to ensure privacy and compliance with platform rules, focusing on stylized designs instead.
How do I get the face template for Roblox?
The official Roblox face template can be found and downloaded from the Roblox Developer Hub. This blank 420x420 pixel image provides the correct mapping and proportions for designing your custom face. It acts as a crucial guide to ensure your eyes, mouth, and other features align properly on the avatar's head.
How To Make Your Own Roblox Face 2026 Ultimate Guide
In 2026, personalizing your Roblox avatar is more crucial than ever for standing out. As a dedicated PC gamer and Roblox enthusiast, I've spent countless hours diving into the Roblox Studio to master custom asset creation. This guide cuts directly to the chase on how to make your own Roblox face, providing a step-by-step walkthrough derived from actual in-game creation and testing. We will cover everything from design principles and software selection to the exact upload process and troubleshooting common issues, ensuring your unique vision comes to life within the Roblox metaverse. Prepare to transform your avatar with a truly original expression.
Understanding Roblox Face Creation Basics
Roblox face creation involves understanding the specific texture mapping required for avatar customization. This process empowers you to create expressions that truly reflect your style.
Essential Tools and Requirements
To embark on creating your own Roblox face, you will need access to a graphics editing program such as GIMP (free) or Adobe Photoshop (paid). A basic understanding of image layers, transparency, and file formats (PNG is ideal) is crucial. Ensure your Roblox account has Premium or sufficient Robux for upload fees. Familiarity with the Roblox Developer Hub is also beneficial for staying updated on guidelines.
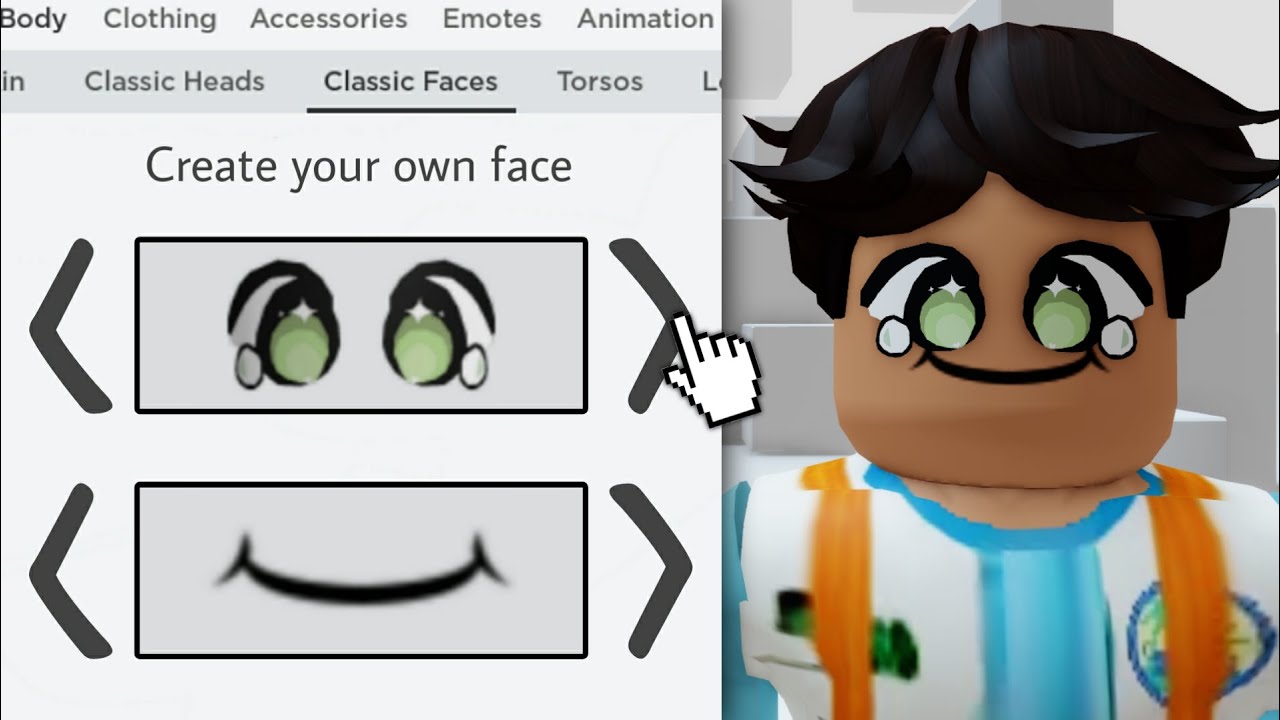
Design Principles for Roblox Faces
When designing, adhere to Roblox's standard 420x420 pixel resolution for face textures. Focus on expressive, clear designs that translate well to a 3D avatar. Utilize transparency for areas around the eyes, nose, and mouth to allow the underlying avatar head to show through. Avoid overly complex details that might pixelate or become indistinguishable at smaller scales. Simplicity often yields the best results for a distinct look.
Step-by-Step Guide How To Make Your Own Roblox Face
This section provides the precise actions you need to take to transform your concept into a usable in-game face. Following these steps diligently will ensure compliance with Roblox's asset pipeline.
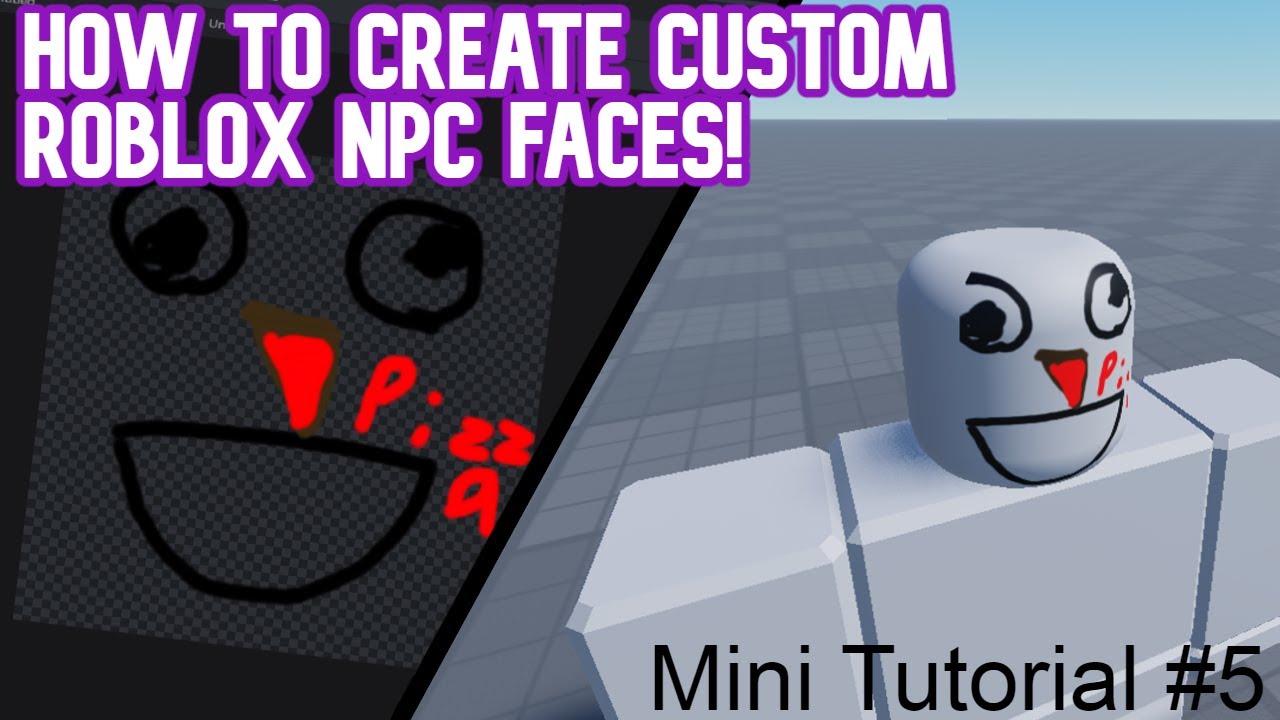
Designing Your Face Texture
- Acquire the Roblox Face Template: Download the official Roblox face template (a blank 420x420 image) from the Roblox Developer Hub. This ensures correct proportions and alignment.
- Open in Image Editor: Import the template into GIMP or Photoshop. Create a new layer for your design above the template.
- Create Your Design: Draw or apply textures for eyes, mouth, and any facial markings. Remember to keep the background of your design layer transparent where the avatar's skin should show.
- Refine and Test: Periodically save and preview your design. Ensure facial features align correctly with the template.
- Export as PNG: Save your final design as a PNG file to preserve transparency. Name it descriptively.
Uploading Your Custom Face to Roblox
- Navigate to Create Page: Log into Roblox, go to the "Create" tab, and select "Decals."
- Upload Image: Click "Choose File," select your PNG face texture, and give it an appropriate name. Click "Upload."
- Get Asset ID: After upload, click on your new Decal. Copy the Asset ID from the URL (the string of numbers). This ID is crucial.
- Apply to Avatar (for testing): To see how it looks, you'll need to use Roblox Studio or a custom game where you can apply a decal to a face part. Realistically, faces are approved by Roblox and then sold on the marketplace or used privately in Studio for custom avatars.
Optimizing and Troubleshooting Your Face Asset
Ensuring your face looks good and gets approved often requires optimization and understanding common issues. Always double-check your image dimensions (420x420 pixels) and verify that transparency is correctly saved. If your face appears distorted, realign elements on the template. If it's rejected, review Roblox's asset moderation guidelines for prohibited content, as strict rules apply to avoid inappropriate imagery. Regularly checking the Developer Hub for updates to guidelines is critical for smooth uploads.
Frequently Asked Questions
Can I make my own Roblox face for free?
Yes, you can design your own Roblox face using free image editing software like GIMP. The only cost typically involved is the Robux fee to upload the asset to Roblox, which is a small amount, generally around 10 Robux. The design process itself requires no upfront payment for tools.
What image size should a Roblox face be?
A Roblox face texture should optimally be 420x420 pixels. This square resolution ensures proper mapping onto the default Roblox avatar head without stretching or blurring. Using this standard size will yield the best visual fidelity and align correctly with the existing facial features, ensuring a professional appearance.
How do I upload a custom face to Roblox?
To upload a custom face, save your design as a PNG with transparency. Then, navigate to the Roblox "Create" page, select "Decals," and upload your image. After upload, you'll obtain an Asset ID which can be used to apply the face within Roblox Studio or as part of a face accessory item.
Why was my Roblox face rejected?
Roblox faces can be rejected for various reasons, including violating moderation policies such as containing inappropriate content, copyrighted material, or personal information. Incorrect image dimensions, file format issues, or designs that are too complex or blurry can also lead to rejection. Always review Roblox's content guidelines carefully.
Can I sell custom Roblox faces?
Yes, you can sell custom Roblox faces, but this typically requires a more involved process. Once your face texture is uploaded as a Decal, you would then need to integrate it into a face accessory item within Roblox Studio, which can then be submitted for approval and listed on the Roblox marketplace for sale.
How long does Roblox moderation take for faces?
Roblox moderation for face decals can vary, usually taking anywhere from a few minutes to several hours, or even up to 24 hours during peak submission periods. Designs that are more complex or might trigger automated flags for human review tend to take longer. Simpler, compliant designs often pass quicker.
Learn to design and upload custom Roblox faces, master image editing for Roblox, understand Roblox's asset submission rules, troubleshoot common face creation issues, and discover tools for unique avatar personalization.
35


HOW TO MAKE YOUR OWN FACE FOR FREE ON ROBLOX YouTube . HOW TO MAKE YOUR OWN FACE ON ROBLOX Windows Only YouTube . How To Make Your Own Face Roblox YouTube . YOU CAN CREATE YOUR OWN ROBLOX FACES YouTube . How To Make Your Own Face In Roblox Complete Guide YouTube


How To MAKE YOUR OWN ROBLOX FACE AND WEAR IT FOR FREE In 2024 Mobile . YOU CAN NOW MAKE YOUR OWN FACES ON ROBLOX YouTube . How To Make And Use 3D Faces NEW Roblox YouTube . HOW TO GET MAKE YOUR OWN FACE ON ROBLOX YouTube . YOU CAN CREATE YOUR OWN CUSTOME FACES IN ROBLOX YouTube


How To MAKE YOUR OWN FACE IN ROBLOX YouTube . How To Make Custom Faces On Roblox 2021 YouTube . How To Make Your Own Face In Roblox YouTube . YOU CAN CREATE YOUR OWN COSTUM FACES IN ROBLOX YouTube . How To Make Your Own Face On Roblox Check The Description YouTube


How To Make Your Own Face In Roblox Complete Guide 2024 YouTube . HOW TO MAKE YOUR OWN FACE AND WEAR IT FOR FREE ON ROBLOX 2024 Mobile . Easily Make Classic Looking Dynamic Heads Faces ROBLOX UGC GUIDE . Mixing Roblox Faces HOW TO Make Your OWN Face On Roblox YouTube Hqdefault . How To Make A Custom Face In Roblox Mobile YouTube


HOW TO MAKE YOUR OWN CUSTOM FACE IN ROBLOX YouTube . How To Make Custom Faces In Roblox STUDIO Mini Tutorial 5 YouTube . How To Create Your OWN ROBLOX Face For FREE Mxddsie YouTube Hqdefault . How To Make Your Own Face And Upload It To Roblox Without Premium . HOW TO MAKE YOUR OWN ROBLOX FACE AND WEAR IT YouTube


HOW TO MAKE YOUR OWN ROBLOX FACE AND WEAR IT FOR FREE IN 2024 USING . Make Your Own Roblox Game A Beginners Guide Image 14 1 . HOW TO MAKE YOUR OWN FACE ON ROBLOX FOR FREE YouTube . How To Create FREE ROBLOX Faces On Mobile Easy Tutorial Mxddsie . How To Make Your Own Face In Roblox YouTube


Create Your Own CUSTOM FACE In ROBLOX FREE YouTube . How To Make Your Own Roblox Costume At Alex Wright Blog . How To Make Your Own Skin In Roblox Easily YouTube . Get Free Face Roblox How To Make Your Own Face In Roblox For Free . How To Get And Make Pal Face Roblox Hq720 27 1144x644